DIRECTIONS: Always make a practice repair on vinyl sample (in kit) before
making an actual repair! Note: you will need an extension cord
to connect electric heat tool to electrical outlet. Read all 7 steps
of instructions before using the repair kit.
TO REPAIR VINYL OR LEATHER UPHOLSTERY:
1. PREPARE THE DAMAGED AREA. Clean the area with
a strong household cleaner. Make sure area is dry before
starting the repair work. Trim off frayed or excess threads
with a razor blade or knife. If burn damaged, remove charred
material with razor or knife.
2. INSERT CLOTH BACKING FABRIC. NOTE: Very small
(less than 1/4 inch) cuts, burns or holes do not require a
cloth backing fabric. Cut the fabric slightly larger than the
damage. Use the spatula to insert it into and under the
damage to provide support for the repair.
3. SELECT GRAIN PAPER. Enclosed are three (3) grain
patterns: fine, coarse and medium. Select the grain pattern
paper closest to that of your damaged vinyl. Draw an outline
of the damaged area on the top side of the grain paper. This
will allow you to position the heat transfer tool accurately.
4. FILL IN DAMAGE. Use the Clear Vinyl Adhesive and
Filler and spatula to fill in damaged area to surface level.
Allow 4 hours to dry. The adhesive will shrink slightly when
dry, leaving a void which is then filled
in with colored repair compound.
5. MATCHING THE COLOR. One of the seven (7) color
repair containers may be close enough to the color of the
damaged vinyl to make the repair. If so, use it directly
from the container. If not, while the Clear Vinyl Adhesive
and Filler is drying, mix and match the color of your vinyl
using the color-matching chart on the back of this card as
a guide. Mix the colors in small amounts with the spatula
until you get the correct shade. Check the color match by
rubbing a small amount of the color onto the undamaged
vinyl, and then remove it with a rag.
6. APPLYING THE COLOR REPAIR COMPOUND. Prior to
applying the color compound, determine if your repair will
be for a soft area, like a seat, or for a hard area, like
an interior door panel. If the repair is for a hard area, add
approximately 20% of the included hardener material to the
color matching compound. Stir this in thoroughly and apply
as per the following instructions. If the repair is for a soft
area, do not use the included hardener.
Use the spatula to evenly and neatly apply the repair
compound into the damaged area. Spread a thin layer onto
the undamaged vinyl and feather the edges to make the
surface smooth and even. Correct application of the repair
compound is necessary to produce an excellent repair job.
Wipe up any excess from around the hole or damage.
DO NOT OVERFILL THE DAMAGED AREA. Filling the surface
evenly is very important, and care should be taken to do it
properly. Use less repair compound, not more. It is easy to
add more later if necessary. Tape the grain paper over the
uncured color compound making sure the outline is directly
over the damaged area.
7. HEAT CURING THE REPAIR. THIS IS THE MOST
IMPORTANT STEP OF THE REPAIR PROCESS. Plug in
heat transfer tool and allow 4 minutes to warm up. This is
a constant heat source. NEVER LET THIS TOOL DIRECTLY
TOUCH THE VINYL! After the electric tool is heated, place
the hot metal tip on the grain paper over the drawn outline
of the damage. Rotate the heat tool on the grain paper
outline in a circular motion for 35-45 seconds. Care must
be taken not to OVERHEAT the grain paper. Heat must be
applied to each and every section where the grain paper
covers the repair compound. (This includes the area
surrounding the outlined area.) Remove the electric tool
but not the grain paper. REMOVE THE PAPER ONLY AFTER
FULLY COOLED (1 to 2 minutes). If the area repaired is
sticky or tacky after cooling, simply repeat step 7 above. If
there are any defects or pin holes in the repair, simply fill in
more colored repair compound and repeat Step 7.
www.permatex.com
www.permatexrepair.com
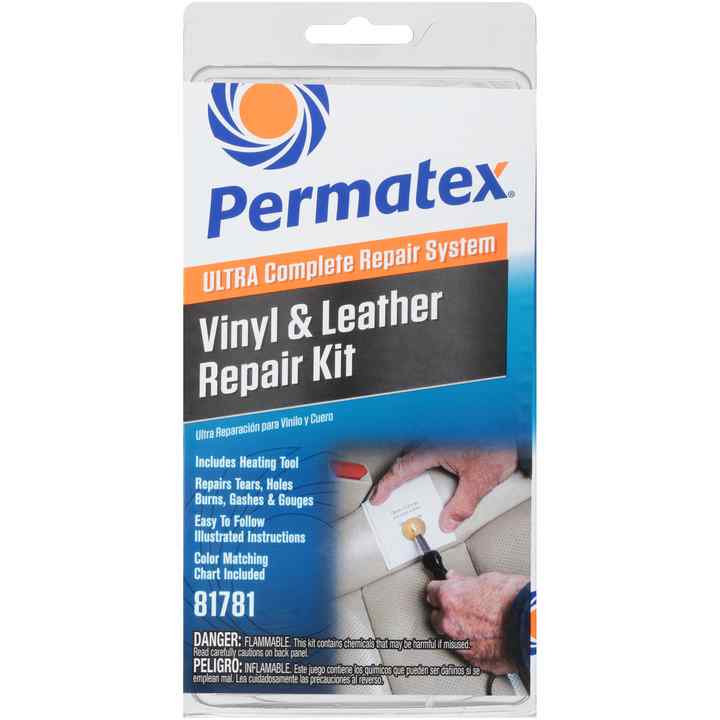
Permatex’s Ultra Series Vinyl Repair is a complete professional kit with plug-in electric heat iron to make pro-style repairs. This kit contains: professional electric heat tool, 7 color compounds, clear vinyl adhesive and filler (net .34 fl. oz.), grain pattern paper, metal spatula, and plastic dashboard hardening powder.